I was checking out all the photos I have for decoupage items I made for clients for the past few days. Reason being a journalist contacted me to ask for an interview to be published in a local magazine about my hobby.
When I started to learn decoupage in 2007, I never thought it could generate income. I was bored after resigning from my job and was looking for new thing to learn. As I learned the basic of decoupage, I realized that this is something that most people with less artistic talent could do at home.
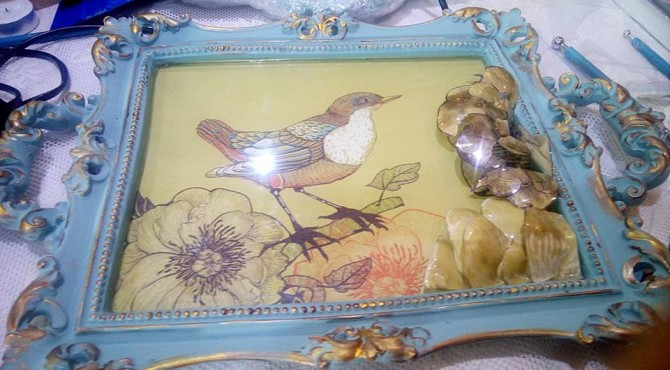
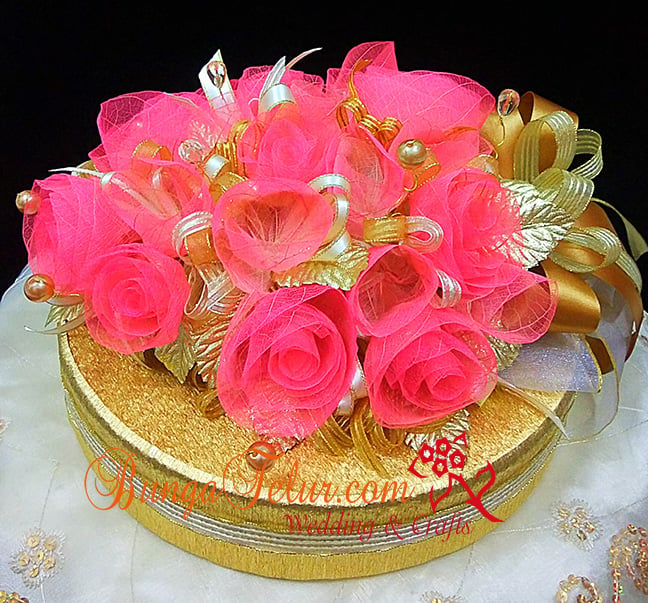
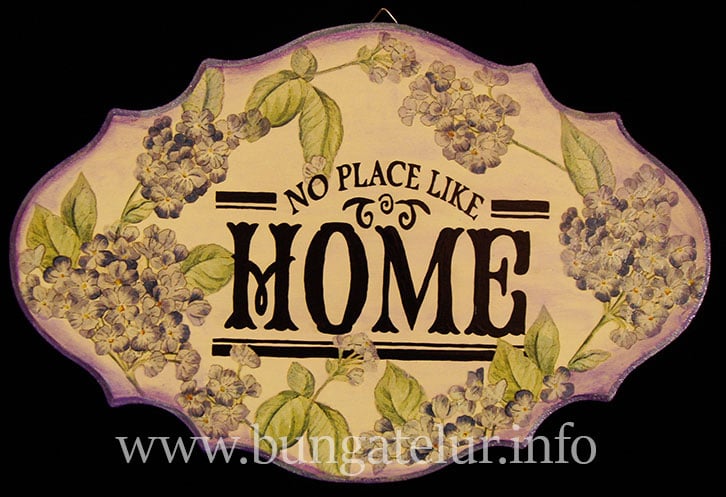
So for the past 10 years I have been able to create many decoupage items mostly for others and teach decoupage to people who are interested. It’s a great way to create something really unique and one of a kind for home decor even though the basic of decoupage is just a simple technique of cutting and pasting the picture.
For those who are interested to learn, keep reading this blog as I might update the latest schedule for class.