RSS Feed

a April 19th, 2011

    Kelas Asas Decoupage April 2018

    BungaTelur.com akan mengadakan kelas untuk mempelajari teknik decoupage di atas pinggan seramik/cermin kayu. Semua bahan akan disediakan. Hasil kerja boleh dibawa balik.

    Jadual kelas adalah seperti berikut:

    Tarikh: 29 April 2018, Ahad

    Masa: 2:00 - 5:00 petang

    Yuran: RM80

    Tempat: Puchong (lokasi akan diberitahu kepada peserta yg serius)

    Terhad kepada 6 peserta

    Sesiapa yang berminat, sila email ke [email protected], atau sms/wa ke nombor 012 6482121 untuk maklumat lanjut. Peserta digalakkan membuat tempahan awal kerana tempat adalah terhad.

    Untuk melihat contoh decoupage yang dihasilkan oleh peserta kelas sebelum ini, sila lawati http://news.bungatelur.com atau laman Facebook BungaTelur.com

  1. Eyelets on Green Layout

    April 19, 2011 by admin

    Last week I was learning the correct technique on how to print out picture on 4R size photo paper. Sometimes using my simple way of cropping the picture in Photoshop and send them to printer doesn’t give the output that I want. After learning more about the Fixed Ratio style and resolution, I managed to print this picture of Murraya paniculata or Kemuning flowers.

    Please click to view larger image
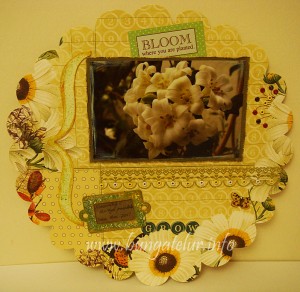
    The challenge that I am up to this month is to use a minimum of 23 eyelets on the layout. Check out Scrapbookers Anonymous April Challenge.

    I hardly use the bunch of eyelets I bought in 2006. Reason being I hate making holes for the eyelets to go through. I’m not sure whether there exists such updated tools that will make the task easier. I’m still using the ancient tool I have to make the holes..huhu!
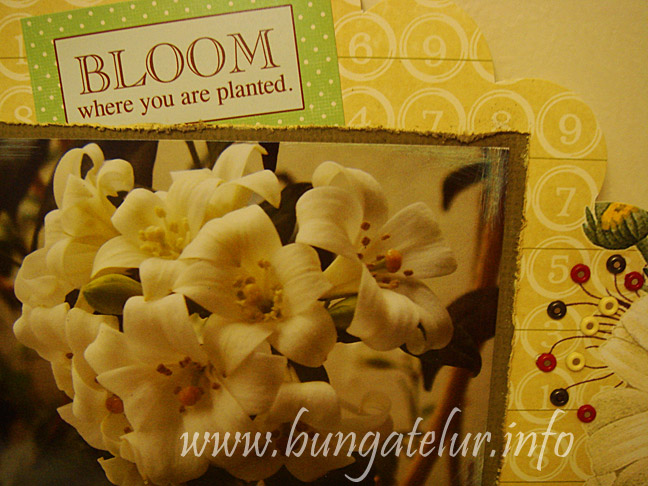
    On the right side are the first 10 eyelets I put on the layout. I also found a sentiment sticker that fits the gardening theme for this layout.

    Since I was using the Webster’s Pages Wonderfall diecut paper for this layout that is already beautiful, I tried not to embellish it too much.
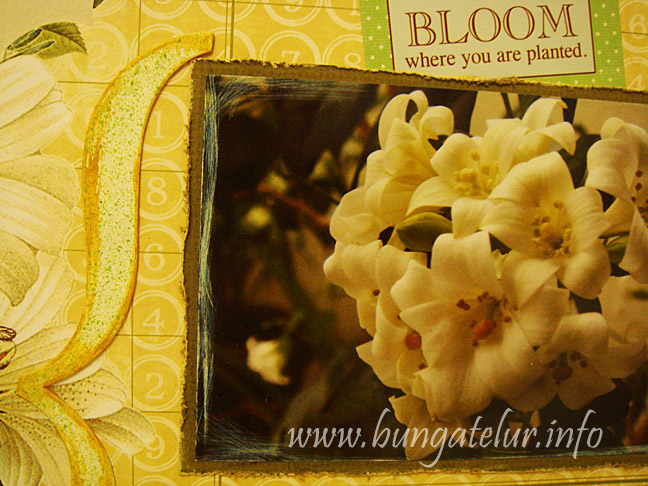
    If there’s one thing I regret doing, it was sanding the edge of the picture in a dim lit room. Only when I snapped the picture I realized how too sanded the edge became…huhu!
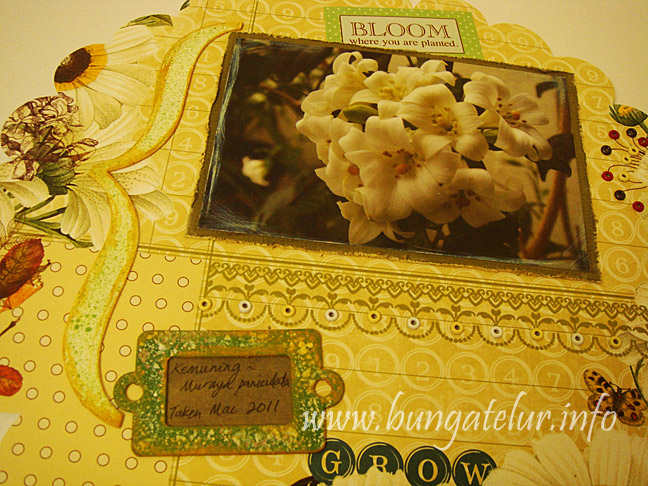
    For the chipboard, I used acrylic paints. I misted some paint using wet brush on top of the chipboard and painted the edge in Antique Gold.

    Oh, check out the other 13 eyelets, what a wrist workout to make all the 23 holes..huhu!

    I am also entering this layout for Scraptivations April Challenge. I just found out about the challenge while reading Bec Miller’s blog. Thanks Bec for commenting!

    I think those combination of bright yellow, cream and green are just perfect for flower theme layout like mine.
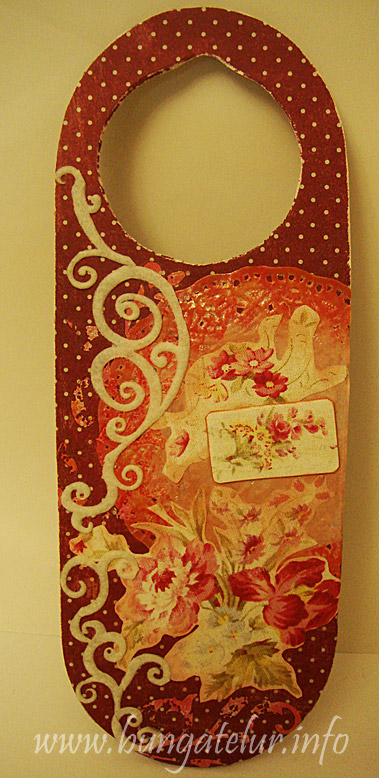

  2. Altered Door Hanger

    April 19, 2011 by admin

    This is the first time I do anything crafty with door hanger. I’ve got one through decoupage gang gift exchange last year, but that one was using napkin.

    I thought for the 3rd Week Scrap-It-Lah challenge I will do something decoupage like but using patterned paper instead. It is some rosy, shabby style pattern which I hardly use for scrapbook layout. I fussy cut the main flower, glued it down and inked around the image so that it blends with the background.

    90% of the materials used for this altered work are some old stuffs I bought like 4-5 years ago. Oh, I get to use the Making Memories sanding block I bought to sand the paper all around the door hanger.

    At first I used rub on from Bohemia line of My Mind’s Eye to embellish the background but it was too subtle as the background paper is dark maroon. I dug out some old Queen & Co felt self adhesive scroll in white and arranged them to fit the left part of the door hanger.

    I plan to stamp or use alphabet sticker to spell the name of the recipient on the top part of the hanger once I have decided who I will give this door hanger to.