Archive for March, 2007

Kelas Bunga Dip/Decoupage March 2010

BungaTelur.com akan mengadakan kelas asas untuk mempelajari cara-cara membuat bunga telur dan bunga dulang mini menggunakan cecair Q-Dip. Semua bahan akan disediakan.

Jadual kelas adalah seperti berikut:

Tarikh: 20 March 2010, Sabtu

Masa: 2:00 - 5:00 petang

Tempat: Bilik Mesyuarat 1, Pusat Komuniti Presint 16, Jalan 16G, Putrajaya (Berhampiran Alamanda)

Yuran: RM100

Terhad kepada 6 peserta

*********************************************************

BungaTelur.com akan mengadakan kelas asas decoupage di atas cawan seramik. Semua bahan akan disediakan semasa kelas praktikal. Hasil kerja boleh dibawa balik.

Jadual kelas adalah seperti berikut:

Tarikh: 14 March 2010, Ahad

Masa: 3:00 - 5:00 petang

Tempat: Bilik Mesyuarat 1, Pusat Komuniti Presint 16, Jalan 16G, Putrajaya (Berhampiran Alamanda)

Yuran: RM60

Terhad kepada 6 peserta

Sesiapa yang berminat, sila email ke farah@bungatelur.com, atau sms/telefon ke nombor 012 6482121 (selepas pukul 3pm) untuk maklumat lanjut. Peserta digalakkan membuat tempahan awal kerana tempat adalah terhad. Peta lokasi akan diberikan kepada peserta yang memerlukan.

Deposit 50% diperlukan untuk pengesahan tempat. Deposit tidak akan dipulangkan jika gagal menghadiri kelas. Sila hubungi untuk mendapatkan nombor akaun Maybank untuk membuat pembayaran deposit.

Untuk melihat contoh bunga dip/decoupage yang dihasilkan oleh peserta kelas sebelum ini, sila lawati http://news.bungatelur.com

Completing The Rose

Thursday, March 29th, 2007

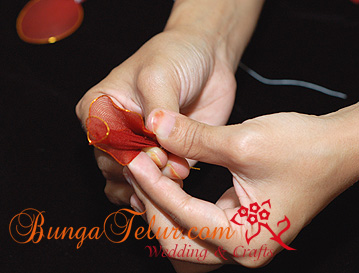
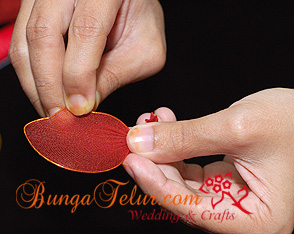
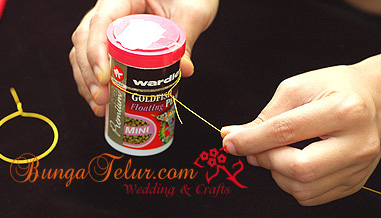
You have managed to make the middle part of the rose by following the steps in arranging the petals. Now we will proceed to complete the rose.

rdiyzm20.jpg

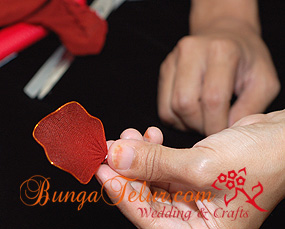
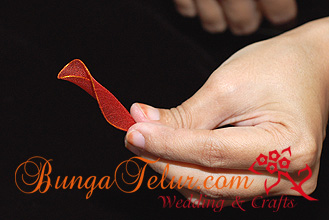
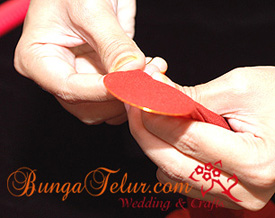
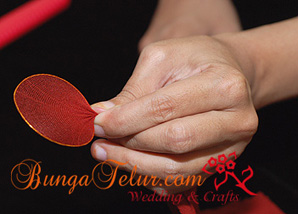
Using the curvy shaped petals, put it on every side of the middle bud of the rose. One tips is to put in between two petals so that the new petal wouldn’t be overlapping the existing petals.

rdiyzm21.jpg

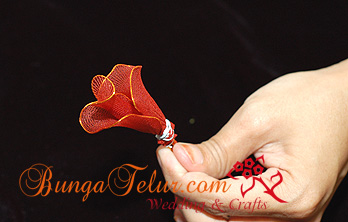
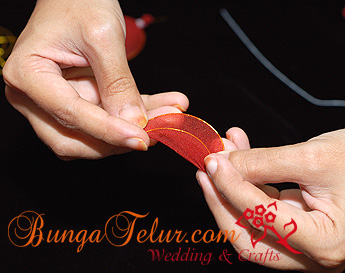
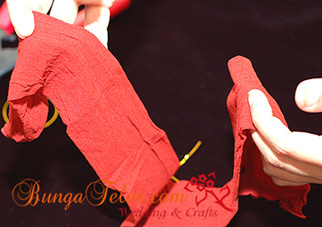
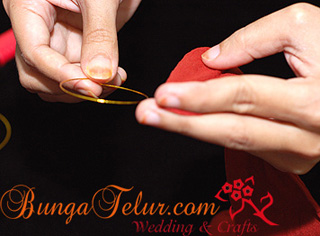
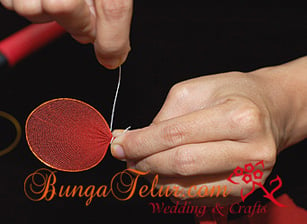
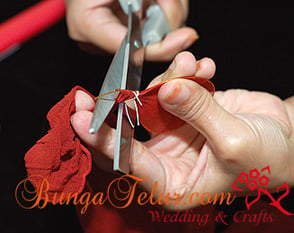
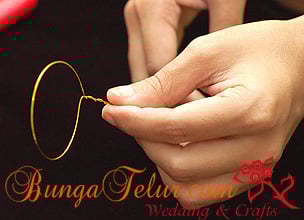
After you have put about 3 curvy petals around the middle part, tie them with wire no.28 and wrap using the brown floral tape. This is to make sure that your rose will look nice without the white wire no.28 visible once the whole rose has been completed.

rdiyzm22.jpg

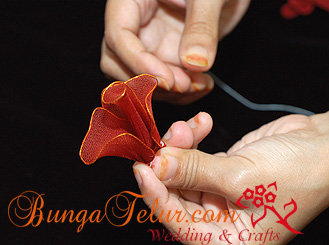
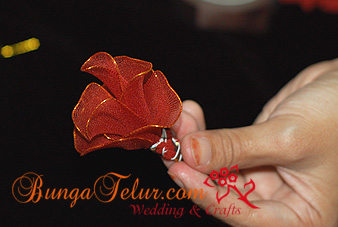
Continue to put other curvy petals around the rose until you satisfied with the size and the look of your rose. Repeat the process of tying and wrapping with floral tape.

rdiyzm23.jpg

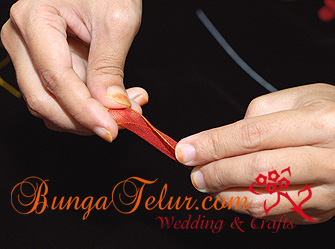
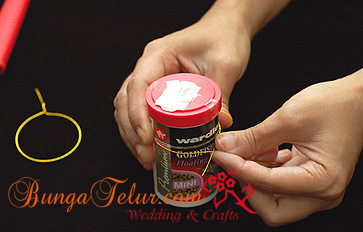
Usually a medium size rose will have about 11-13 petals inclusive the middle bud. You have to rearrange the petals once you have tied and wrapped them with floral tape to make sure you have a satisfactory looking nylon rose.

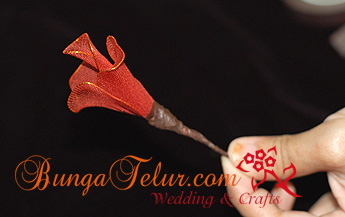
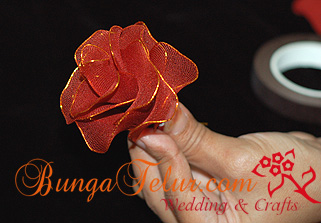
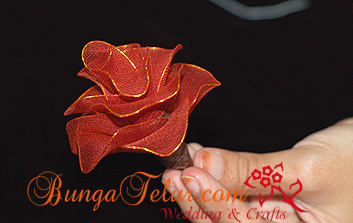
You have made your first rose by learning and following all the steps online.

For more ideas, visit www.bungatelur.com for product ideas. Look under the category of guest favors and ceremonial flowers for sample pictures of available products.

Arranging The Petals

Thursday, March 29th, 2007

From the last section of shaping the flower petals, we have made two types of petals – one with the curvy shape and another one like a folded bud.

rdiyz16.jpg

Take the folded bud and put in the middle. Take the curvy shaped petal and hold at the right side of the folded bud.

rdiyz17.jpg

Take another curvy shaped petal and put on the left side. Hold those petals tightly because we are going to tie them up using the flower wire no. 28.

rdiyz18.jpg

This is how it will look like once you have tied the petals with flower wire.

rdiyz19.jpg

Wrap the part where you tied earlier with floral tape in brown color.

You have made the middle part of a rose. Good job!

Shaping The Flower Petals

Thursday, March 29th, 2007

This will show you how we shape the wire loop into flower petals.

rdiyz11.jpg

Using the round shape wire loop which has been wrapped with nylon material, we will proceed to the next step of shaping the petals. Using your fingernails, pinch a bit at the wire. Try to imagine how the petal curves look like.

rdiyz12.jpg

After you have pinched every right and left side of the wire loop, it will look like this.

rdiyz13.jpg

Take another wrapped wire, this time we will fold it inside.

rdiyz14.jpg

Fold the left side into the right side or the vice versa, as long as the petal looks like a middle bud of a rose.

rdiyz15.jpg

This is how the folded petal looks like.

We will continue with arranging the petals to form a rose.

Basic Wire Loop II

Thursday, March 29th, 2007

Once you have made all the necessary numbers of wire loops, it’s time to wrap them around the nylon material. The nylon material looks like a woman’s panty hose. It has a variety of colors.

rdiye5.jpg

This is how the nylon material looks like. We will start from one end, inside the nylon material.

rdiye6.jpg

Put the wire loop you have made earlier inside the nylon material. We want the nylon material to wrap all the front and the back of the wire loop.

rdiye7.jpg

The nylon material should envelope both front and back of the wire loop. It should fit snuggly but don’t stretch too hard or you will tear the material.

rdiye8.jpg

This is how it should be once you have stretch the nylon material nicely around the wire loop.

rdiye9.jpg

Once you have satisfied, use a flower wire size 28 and tie around the end of the nylon material and your wire loop.

rdiyze10.jpg

Once you have tied the flower wire no. 28 around the material, snip the excess nylon nicely. Wrap the excess wire around the wire loop holder.

You have successfully wrap your wire loop with the nylon material! Congrats!

Basic Wire Loop

Thursday, March 29th, 2007

Since I have been conducting flower making class using nylon material for beginners level starting from last December, I have been requested to do DIY online guides for those who are unable to attend my class in Selangor.

So this is the first entry for DIY flower making class. Personally I feel that this is more suitable for intermediate level as you need to use a lot of wire loop to make the rose.

rdiy1.jpg

First take the wire and put it around a round bottle or plastic case. In nylon flower basic, all the wire loop should be in round shape. Check the one on the left side of the plastic case. That’s what I want to make – a rounded wire loop.

rdiye2.jpg

Pull the wire around the round plastic bottle and tie it in a knot.

rdiye3.jpg

After you have tied one end in a knot, leave another end about 1 to 1.5 inch before you cut it with wire cutter.

rdiye4.jpg

This is the basic round shape for wire loop that we need to make. For rose, we need about 8-13 of them, up to the size of the rose you would like the end result to be.

flt